Tips for starting seeds indoors
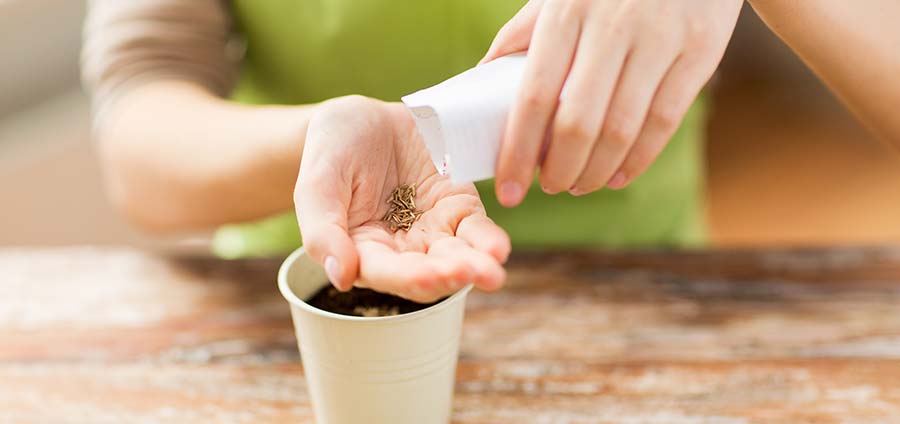
Starting plants from seeds indoors is highly rewarding but keeping them alive can be a challenge. Here’s our tips to help you along.
Looking at the vast selection of seed varieties available makes it tempting to get stuck in and give it a go. You can save a lot of money growing this way but only if they survive and mature into strong plants.
Fortunately, we’re here to help you get started. If you can avoid these common mistakes you’ll be sure to have a bumper crop later in the year.
On your marks, get set, go!
Whoa there, hold your horses! The most common mistake people make is starting their seeds too early. Timing is everything as most plants are ready to go outside from four to six weeks after they’ve germinated.
Always look at the packet for the sowing recommendations and the timing schedule. Having your plants ready when it’s still cold outside will just stress them out, making them more susceptible to pests and disease.
The art of watering
Seedlings are delicate, giving you very little room for error when it comes to watering. The art is in getting the seed compost damp but not wet.
Watering is probably the most challenging part of growing plants from seeds. If you over or under-do it then they’re going to suffer. There are however, some things you can do to help you get this right.
Our first recommendation is to water from the bottom. Standing your seed trays on a wet wicking material will allow water to soak upwards into the compost. You can then cover your plants with plastic until they germinate. Check on the dampness of the compost daily and adjust as necessary.
How deep is your love?
If you’re new to planting, the temptation is push seeds deep into their compost and let nature take its course. Whilst your enthusiasm for your new plants will be running high, remember that not all seeds want to be planted deep.
Some seeds need light to germinate, whilst others need darkness. By reading the back of the packet, you’ll know the preference of the seed you’re working with. If there isn’t any information, the rule of thumb is to plant seeds 2 to 3 times as deep as they are wide. This can be a challenge to figure out so if you're not sure, opt for the shallower side.
For seeds that need light to germinate, such as poppy, you'll want to make sure that they are in contact with your seed compost but not covered. To do this, gently press the compost down to make a firm surface. Then place your seed on top of your medium and gently push down, making sure the seed is still exposed.
Let there be light
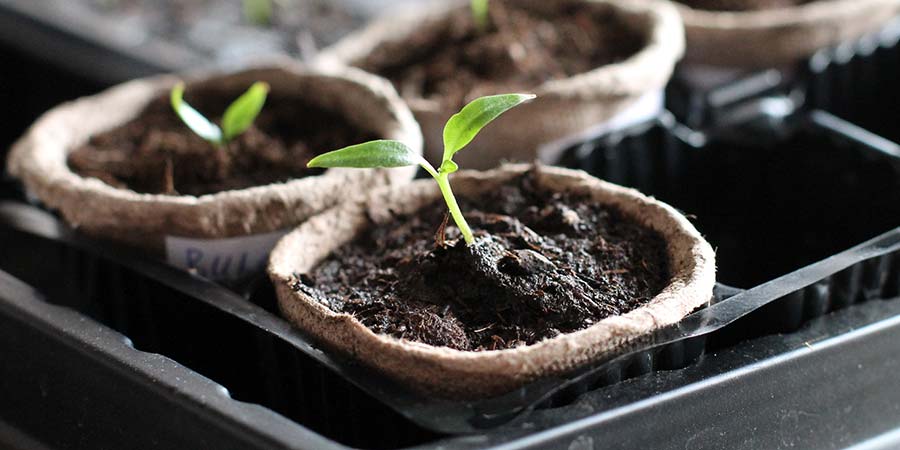
All plants need light to survive and seedlings are no different. In fact they need more light than you think. Chances are, the natural light in your growing space isn’t sufficient to develop your sprouting seeds into robust seedlings, even if it’s a south facing window.
You’ll need to supplement the available natural light with some artificial light. This can be anything from specific grow lights, or for a cheaper option, try some fluorescent bulbs that are used for aquariums. These can be hung above the plants as close as possible without touching them – 2 to 3 inches (5 – 7cm) is ideal.
As the first leaves appear, you’ll want to keep these lights on for 12 to 16 hours a day and can hook up a simple timer to help automate this.
Snuggle time
Most seeds need a warm temperature of 18 to 24°C to start the germination process. Good places to do this are on top the refrigerator, airing cupboard or near a warm radiator. Alternatively, electric propagation boxes with a wicking matt can be bought and offer you some flexibility on the location for growing.
Heat will only be needed whilst waiting for the seeds sprout. After that, most can tolerate the fluctuating temperatures inside a house. If you decide to go for additional lighting, the heat generated from the artificial lights will also keep them happy.
Don’t leave me this way
Neglect is a bad thing when it comes to growing from seed. If you leave seedlings alone too much they’ll become weak and fail to thrive. You’ll need to plan on daily attention, adjusting watering and light to help them get ready to be transplanted outside so they can fend for themselves.
This process is called “hardening off” and is simple, albeit time-consuming. The idea is to expose your plants to the elements gradually.
Practically, this means preparing your seedlings by putting them outside for longer periods every day over the course of six to ten days. People mostly use a cold frame for this but it can be done manually.
A good rule of thumb in the UK is to start hardening off your plants from the 21st March, which just so happens to be the spring equinox and the arrival of longer days.
What was I growing again?
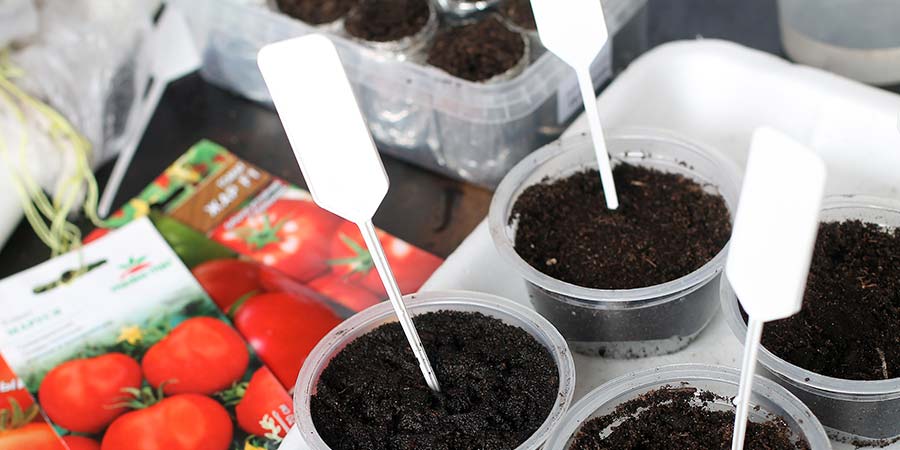
With your seeds happily germinating and sprouting, you’ll want to keep a record of what you were growing and the date you started. Labels can become illegible from watering so use a pencil or permanent marker.
Our advice is to label per row or batch with the name of the seed and the date sown. You can buy plant sticks to do this but homemade labels cut from plastic milk bottles will do just as well.
If you’re really getting into it then you can also keep a photo record on your phone and use a notes app to track progress. You can also note ideas for improving your process on the next batch.
Keep going!
Finally, sowing seeds takes time and dedication but the rewards are worth it. Ok, you could buy your vegetables from the supermarket but they won’t taste half as good as your own produce.
The simple thing is to not give up. There’s nothing better than growing from seed, harvesting your own produce, cooking it and serving to family and friends. And if the increased flavour isn’t enough, you’ll always have the bragging rights!

